The annual value of food wasted globally is $1 trillion dollars and weighs about 1.3 billion tonnes. Food waste is so vast that if it were a country it would be considered the 3rd largest in the world. By buying local, planting your own veggies and herbs, and avoiding purchasing more than you can eat you can do your part to reduce waste. But no one is perfect and even if you did everything right, you’ll still be left with food scraps that would otherwise end up in a landfill.
Making a compost for your physical therapy clinic is easy and an effective way for you and your staff to do your part and reduce waste. But what if you’ve never made a compost before? Don’t sweat it. Not only are they simple to make, just about anyone can make one by following these steps. Let’s get started!
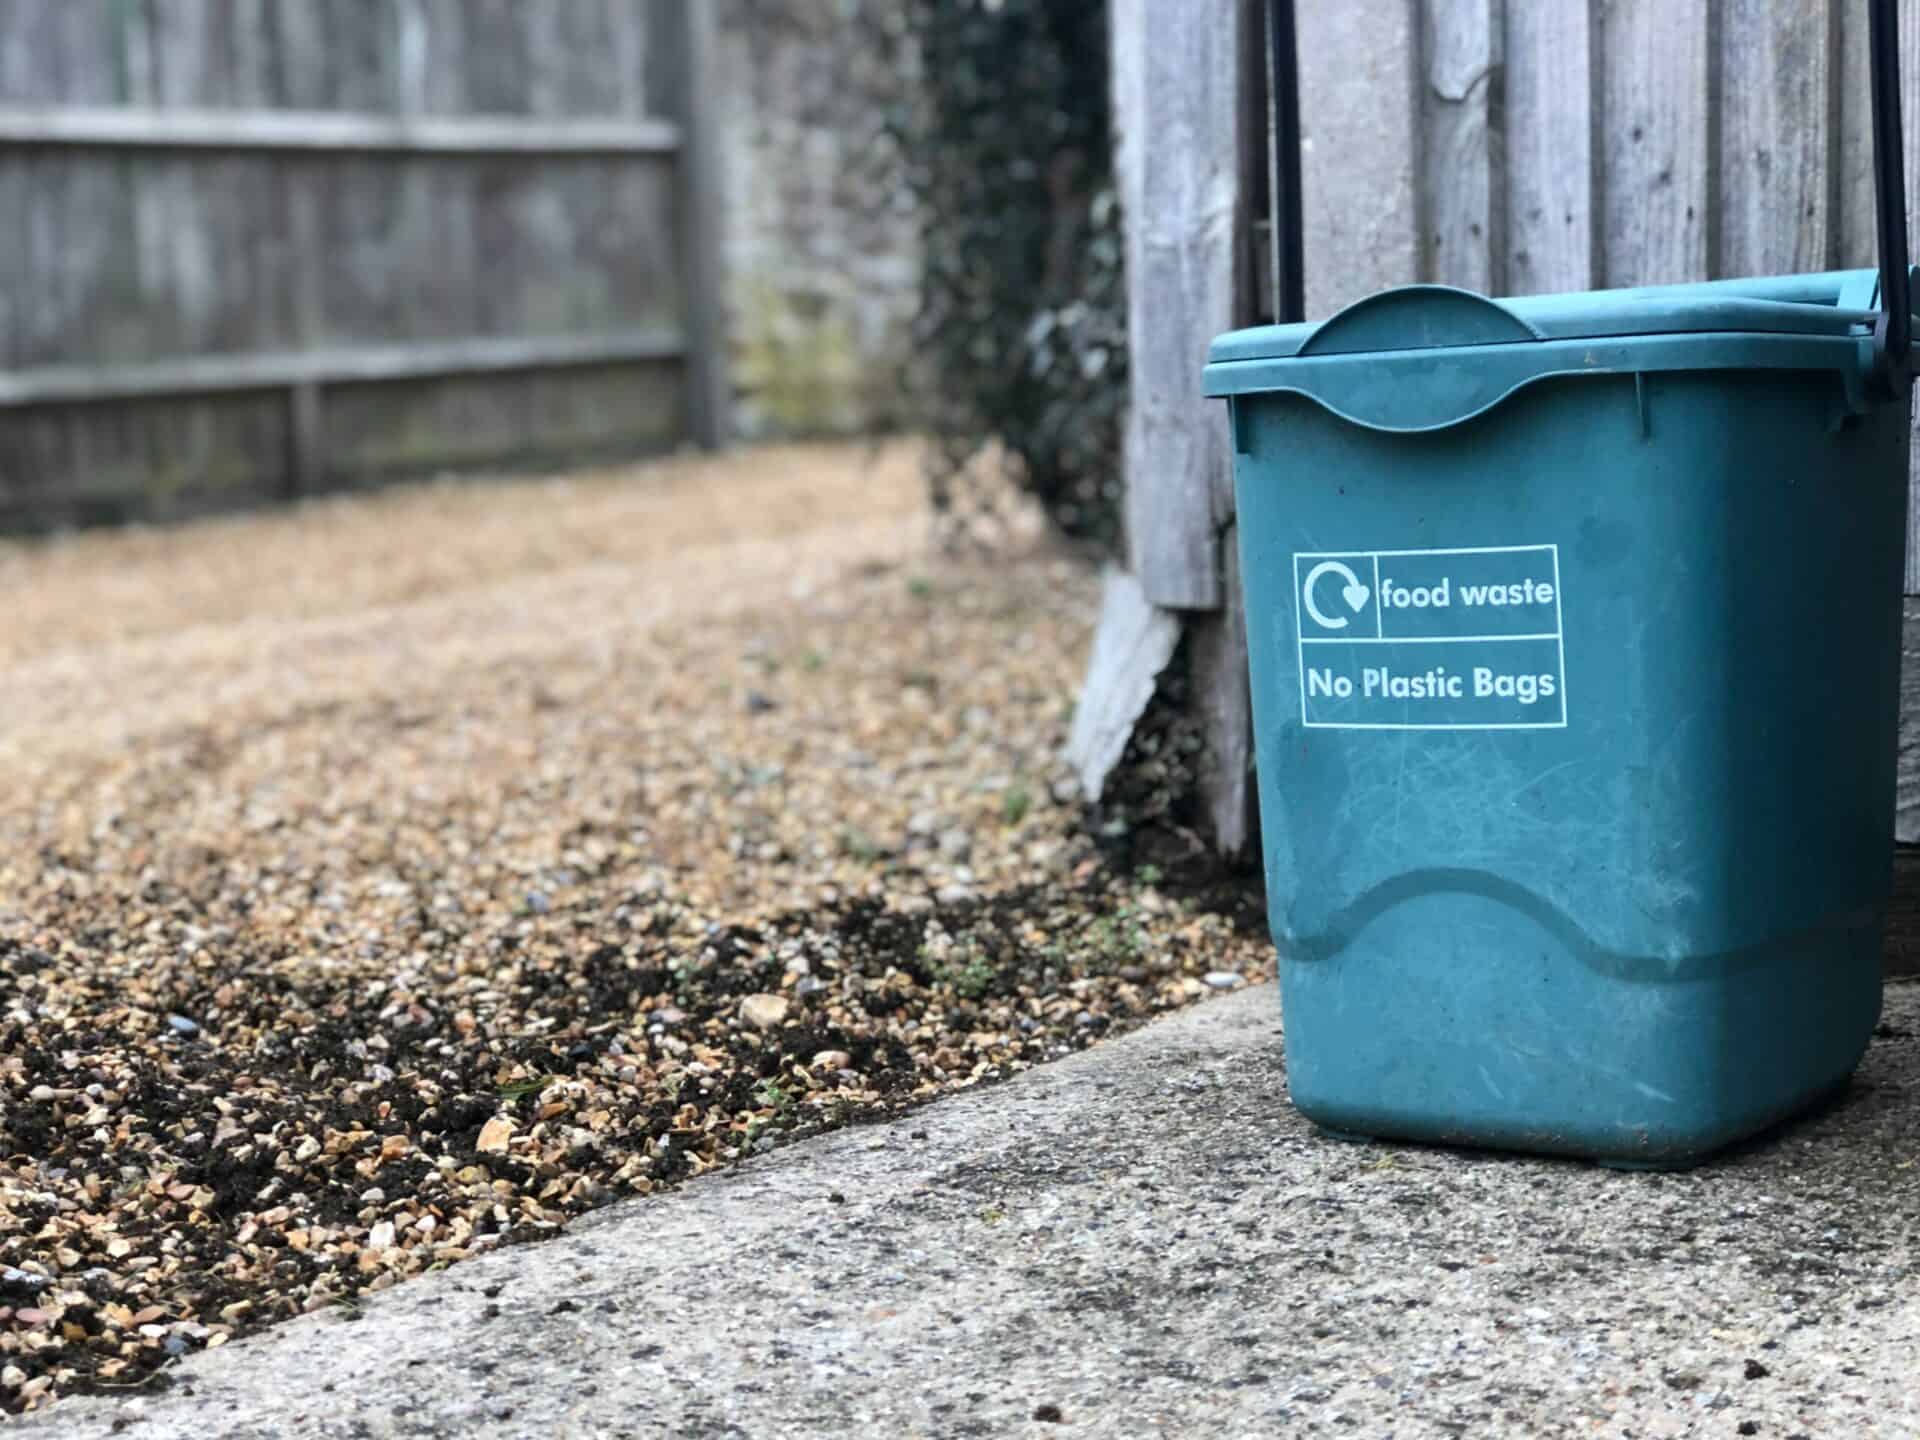
Choose a Nice Container
Possibly both the easiest and hardest part of composting. Because non-commercial composting has become so popular, there is now a wide range of easy and aesthetically pleasing compost bins to choose from online. Head to Amazon and simply type in “Ceramic Compost Container” and you’ll find dozens of great options perfect for your physical therapy clinic.
Choose a Place to Store Your Container
Compost containers do a quality job of containing any smells however, it may be best to keep the bin either in your break room, break room freezer, or space outside. Storing your bin in the freezer will reduce smells. However, you may need to check to make sure that the bin you are purchasing will be effective in the freezer.
Make Your Layers
There is a science to an effective compost and how you layer your scraps will determine the effectiveness of your compost. The secret? Browns and then greens.
What are Browns?
Browns are carbon-rich. Think egg cartons, newspapers, dried leaves, pine needles. Browns allow water and air to flow. If you’re ever unsure if a material is brown or not, remember brown materials are typically “dry.”
What are Greens?
Greens are your fruit and veggie scraps, lawn clippings, etc. These add nitrogen which is what helps break down the items in the compost. Your green materials are “wet.” The microorganisms are what do a lot of the heavy lifting during the actual compost process.
The number of layers your compost will have depends on the space and size of your container as well as the amount of food scraps you have on hand to initially create it. Typically layers should measure about 1 to 2 inches. Adding a final layer of browns will ensure that flies and odors are kept away or to a minimum. The browns help soak up the “wet” from the greens.
Wait and Aerate
Now comes the hardest part– waiting. A successful compost takes time and so your best bet is to set it but don’t totally forget it. You’ll want to lightly water your compost now and again. The best way to determine if your compost is working is if you can smell the decomposing compost. A compost that is working should have little to no smell. Additionally, you’ll want to turn the mixture every few months to make sure things are socializing properly in there. Continue to add your layers of browns and greens and enjoy the positive feeling of reducing your food waste at your physical therapy clinic.